FREE Remote Monitoring With Raspberry Pi: Setup Guide & Tips!
Are you tired of being in the dark about what's happening at your home, office, or remote location when you're not physically present? The power to monitor, observe, and respond to your environment remotely, without incurring subscription fees or hefty hardware costs, is now within reach, thanks to the versatile Raspberry Pi and the open-source ethos that underpins it.
The beauty of "free remote monitoring with Raspberry Pi" lies in its accessibility and adaptability. It's a testament to the power of small, affordable computing combined with readily available software and online resources. Whether you're a seasoned tech enthusiast or a curious beginner, the Raspberry Pi ecosystem offers a wealth of tools and tutorials to get you started. Imagine having the ability to view live video feeds from your property, monitor temperature and humidity levels, receive alerts for unexpected events, and even control devices remotely all without paying a monthly subscription fee. This is not a futuristic fantasy; it's a practical reality, thanks to the ingenuity of the Raspberry Pi and the passionate community that supports it.
The core concept revolves around leveraging the Raspberry Pi's processing power, connectivity, and versatility to collect data from sensors, process that data, and transmit it to you securely over the internet. The applications are virtually limitless, ranging from home security and environmental monitoring to industrial automation and scientific research. What makes this approach particularly appealing is the freedom it offers. You're in complete control of your data, your system, and your privacy. You're not beholden to a third-party provider, and you have the flexibility to customize your monitoring system to meet your exact needs.
To fully understand the scope of this technology, consider the practical applications:
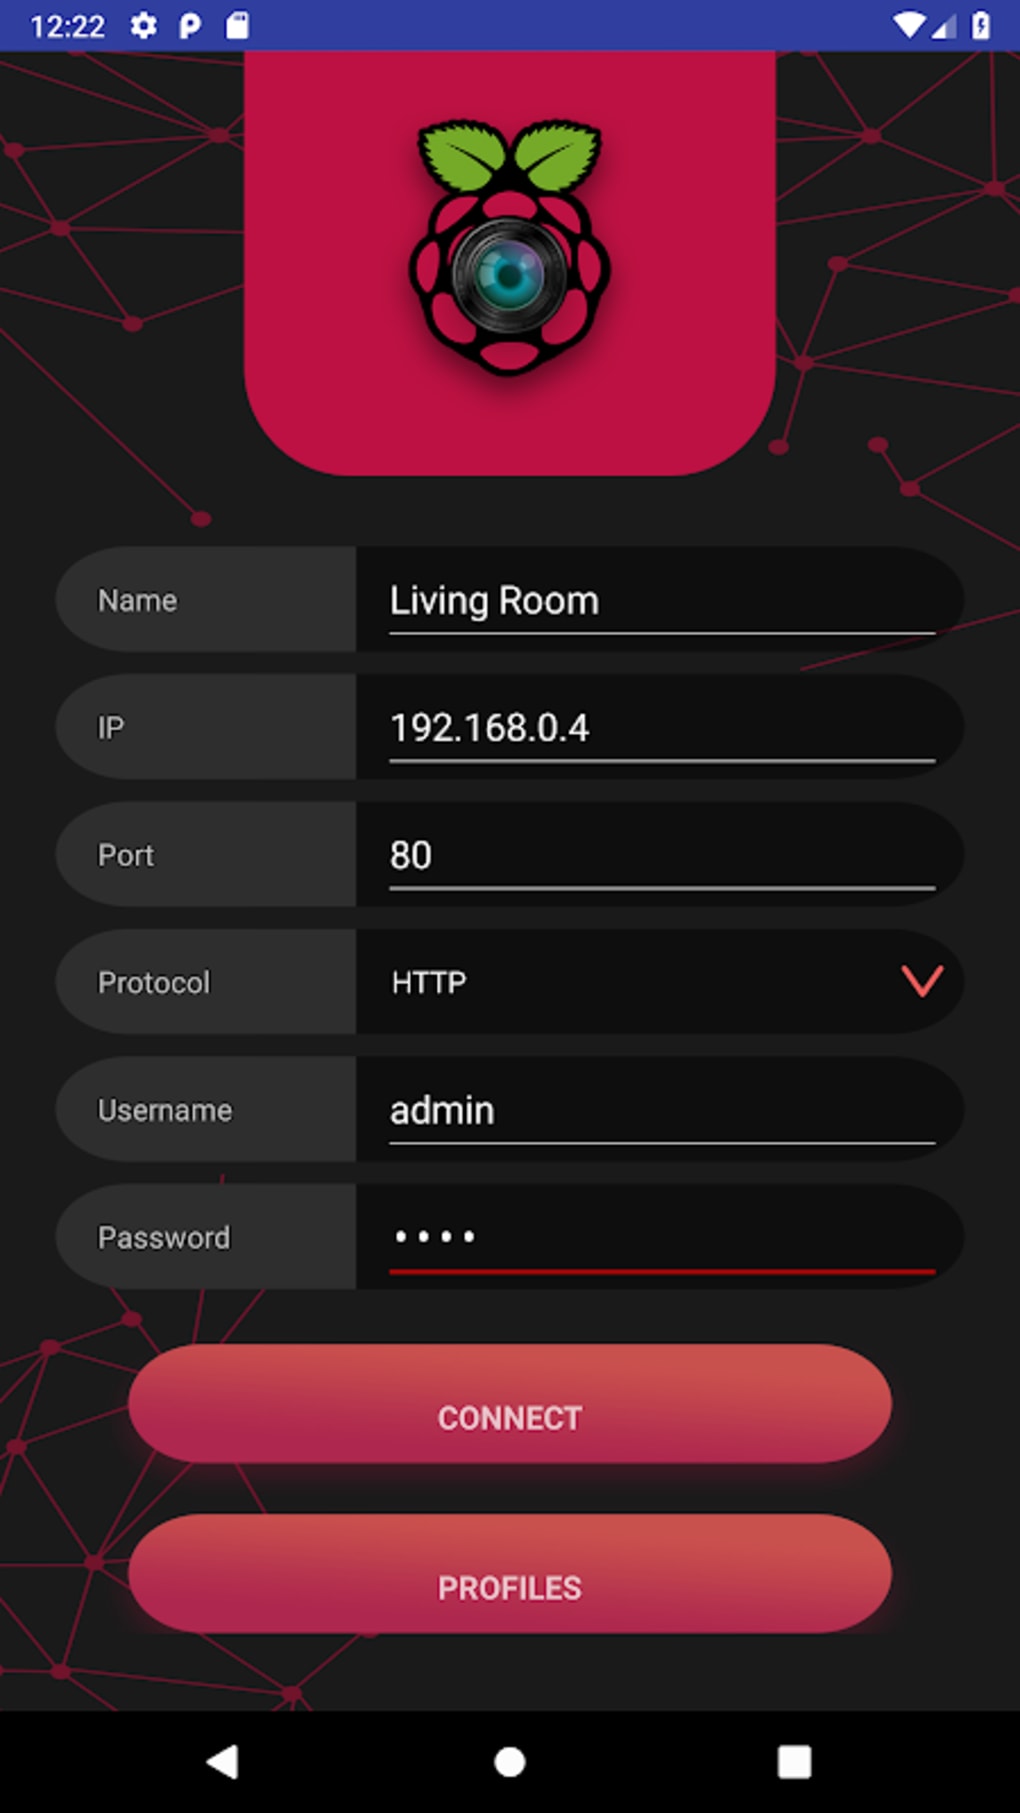
- Home Security: Deploy cameras to monitor your property, receive motion detection alerts, and remotely view live video feeds.
- Environmental Monitoring: Track temperature, humidity, air quality, and other environmental factors, both indoors and outdoors.
- Smart Agriculture: Monitor soil moisture, temperature, and light levels in your garden or greenhouse, and automate irrigation systems.
- Industrial Automation: Monitor and control machinery, collect data from sensors, and receive alerts about equipment malfunctions.
- Scientific Research: Build data-logging systems for environmental studies, weather monitoring, and other research projects.
The Raspberry Pi's open-source nature means a vibrant community of developers and enthusiasts are continuously creating and sharing new software, hardware add-ons, and tutorials. This collaborative spirit ensures that you'll always have access to support, resources, and inspiration as you embark on your remote monitoring journey. The possibilities are vast, from simple projects to complex, sophisticated systems.
Let's examine the key components you'll need to build a "free remote monitoring with Raspberry Pi" system. First and foremost, you'll need a Raspberry Pi board itself. The Raspberry Pi 4 Model B is a popular choice, offering a balance of processing power, memory, and affordability. The Raspberry Pi Zero W is another option, known for its compact size and lower price point, making it ideal for projects where space is a constraint. Other models can also work, of course, depending on your specific needs. You'll need to make sure to purchase a power supply, a microSD card for the operating system, and a network connection either through ethernet or Wi-Fi.
Next, you'll need the right software. The operating system, typically Raspberry Pi OS (formerly Raspbian), is the foundation. This is a Linux-based operating system that provides a user-friendly interface and all the necessary drivers for the Raspberry Pi's hardware components. To install this OS you will require a computer to download the OS image and also a software for flashing the image in the SD card that will be connected to Raspberry Pi.
For remote access, you'll need to choose a method. There are several options available, each with its own advantages and disadvantages. Some popular choices include:
- SSH (Secure Shell): A secure command-line interface that allows you to access your Raspberry Pi remotely.
- VNC (Virtual Network Computing): A graphical remote desktop protocol that allows you to control your Raspberry Pi's desktop remotely.
- Web-based interfaces: Many projects use a web server to provide a web interface which will allow you to monitor and control your Raspberry Pi remotely from any device with a web browser.
Beyond the basic components, you'll need to consider the specific sensors and devices you want to monitor. This is where the real fun begins. There's a vast array of sensors available for the Raspberry Pi, ranging from temperature and humidity sensors to motion detectors, cameras, and environmental sensors. You can also interface with other devices, such as relays and motors, to control them remotely.
Security is of paramount importance when setting up a remote monitoring system. Because your Raspberry Pi is accessible over the internet, it's vulnerable to attacks if not properly secured. Be sure to take the following steps to enhance your system's security:
- Change the default password: This is the most basic and important security measure.
- Keep your software up to date: Regularly update your operating system and software to patch security vulnerabilities.
- Use strong passwords: Create strong, unique passwords for all your accounts.
- Configure a firewall: A firewall can help to block unauthorized access to your Raspberry Pi.
- Consider using a VPN (Virtual Private Network): A VPN encrypts your internet traffic and provides an extra layer of security.
The process of setting up a "free remote monitoring with Raspberry Pi" system can be broken down into several key steps:
- Choose your Raspberry Pi model: Select the model that best fits your needs and budget.
- Install the operating system: Download the Raspberry Pi OS image and flash it onto a microSD card.
- Connect to your network: Configure your Raspberry Pi to connect to your home or office network.
- Install necessary software: Install the software needed for remote access and monitoring.
- Connect your sensors and devices: Connect the sensors and devices you want to monitor to your Raspberry Pi.
- Configure your monitoring system: Set up your monitoring system to collect and display data, and to send you alerts.
- Test your system: Thoroughly test your system to ensure it's working correctly.
Let's look at an example of building a simple home security system. You could use a Raspberry Pi, a camera module, and a motion detector. The camera module would capture video, and the motion detector would trigger an alert when movement is detected. You could configure the system to send you an email or a notification when motion is detected, along with a snapshot or a video clip. You could also set up the system to record video continuously, so you can review the footage later if needed.
Another example is environmental monitoring. You could use a Raspberry Pi, a temperature and humidity sensor, and a sensor for air quality. You could configure the system to collect data from the sensors and display it on a webpage. You could also set up the system to send you alerts if the temperature or humidity exceeds a certain threshold, or if the air quality is poor.
The beauty of the Raspberry Pi is that these are just starting points. With a little creativity and a willingness to experiment, you can create sophisticated monitoring systems that meet your specific needs. The community is filled with people who have done just that, developing ingenious solutions that would have been unthinkable a few years ago.
Now let's delve into the specifics. Consider setting up a remote monitoring system to check the temperature in a greenhouse. The following table outlines the components needed, along with rough cost estimates. These are just examples, and prices can vary based on where you purchase the components and which particular models you select.
| Component | Description | Estimated Cost |
|---|---|---|
| Raspberry Pi | Raspberry Pi 4 Model B (or equivalent) | $35 - $55 |
| MicroSD Card | 32GB or larger, Class 10 | $10 - $20 |
| Power Supply | 5V, 3A power supply for Raspberry Pi | $10 - $15 |
| Temperature/Humidity Sensor | DHT22, DHT11, or similar | $5 - $10 |
| Enclosure | Weatherproof enclosure for outdoor use | $10 - $20 |
| Cables and Connectors | Jumper wires, breadboard (optional) | $5 - $10 |
| Networking | Ethernet cable or WiFi adapter | $0 - $15 (depending on existing setup) |
| Software | Raspberry Pi OS, Programming Code (Python) and related Libraries | Free |
This table represents the basic components you'd need. From there, the possibilities for expansion are limitless. Perhaps add a light sensor to monitor the intensity of sunlight within the greenhouse. Or maybe install a small relay to automatically control a fan or a watering system based on sensor readings. The beauty of this technology lies in its flexibility and potential for innovation.
For advanced applications, consider integrating other sensors and components. You can easily interface with cameras, motion detectors, and even more sophisticated environmental sensors. The Raspberry Pi's GPIO (General Purpose Input/Output) pins make it easy to connect and control these components. Using Python programming language and a few libraries like `RPi.GPIO`, `picamera` makes programming and interfacing with the hardware easier. You can find tutorials and code samples online that demonstrate how to connect different types of sensors and devices to your Raspberry Pi. Remember, the more sensors you add, the more data you can collect, and the more insights you can gain.
Setting up a secure remote access is crucial. Consider using SSH, which allows you to securely connect to your Raspberry Pi from anywhere. Use strong passwords and regularly update your system. Another way to access your Raspberry Pi is through a VNC server to use it graphically.
Now, regarding the legal and ethical considerations, it's vital to be mindful of privacy. If you are using cameras, be transparent about their use. Inform people that they are being monitored, and avoid placing cameras in areas where people have a reasonable expectation of privacy, such as bathrooms or bedrooms. Additionally, ensure you comply with any local laws and regulations regarding video surveillance. Always prioritize the privacy and safety of those around you.
The "free remote monitoring with Raspberry Pi" landscape is ever-evolving. New hardware, software, and techniques emerge constantly. Keep yourself updated with the latest developments by following tech blogs, online forums, and social media communities dedicated to the Raspberry Pi and related technologies. Platforms like Raspberry Pi's official website and related forums are fantastic resources for troubleshooting and inspiration. Regularly checking for software updates, and learning about new sensors or programming languages will continuously help you advance your knowledge and capabilities. Remember that learning is an ongoing process, and experimenting is key to mastering this technology.
To illustrate the potential, here is an example project. Imagine a small business owner who wants to monitor their store's temperature, humidity, and security when closed. They could use a Raspberry Pi connected to a few sensors:
- A DHT22 sensor: to measure temperature and humidity.
- A PIR (Passive Infrared) motion sensor: to detect movement and potential intruders.
- A camera module: to capture images or video of the store's interior.
The owner would set up the Raspberry Pi to collect data from the sensors and to send it to a remote server, a file on a storage, or their own private website. They could receive email alerts if the temperature or humidity goes outside of a pre-defined range. This protects sensitive inventory. Similarly, they could receive an alert when the motion sensor detects activity after hours, along with a snapshot from the camera. This system provides peace of mind and potentially saves the owner money. Consider this an excellent example of practical and cost-effective remote monitoring in action.
The open-source nature of the Raspberry Pi and its associated software also facilitates integration with other systems. With the right programming, the Raspberry Pi can be connected with web services, IoT platforms, and other applications. The possibilities are truly endless. You can build custom dashboards to visualize your data, create automated alerts, and integrate your system with other smart home devices.
In conclusion, free remote monitoring with Raspberry Pi represents a compelling blend of affordability, customization, and control. Its a powerful option for anyone seeking to monitor their environment remotely, without incurring the costs of a subscription service or expensive, proprietary hardware. Whether you're securing your home, monitoring your garden, or exploring the possibilities of industrial automation, the Raspberry Pi provides an accessible and adaptable platform.
With its readily available hardware, software resources, and the vibrant community, its easier than ever to get started and build a remote monitoring system tailored to your exact needs. By embracing the principles of open-source technology, you'll gain the power to understand, manage, and respond to your environment with unprecedented control. Embrace the possibilities, unlock your creativity, and begin your journey into the world of "free remote monitoring with Raspberry Pi" today.


